
Last updated October 8, 2026








Free written scope consultation - allowances, timeline, and change-order rules on paper before a single trade is scheduled
General Contractor Maintenance Schedule: What to Do and When
A bathroom tile installation that lasts 30 years and one that fails in 4 often use the same tile. The difference is whether the grout was sealed on schedule and whether the caulk joint at the tub deck was replaced before water found the substrate. In Los Angeles, where dry heat cycles alternate with sudden downpours and Santa Ana wind weeks, that schedule matters more than the national guides suggest. This guide gives homeowners the month-by-month calendar a general contractor should hand over at project close, not the one you discover through a leak three years later. You’ll learn what to inspect, when to replace it, and which maintenance tasks protect manufacturer warranties.
Quick Answer
A home remodel maintenance schedule organizes upkeep by month and system: inspect caulk joints and grout quarterly, replace HVAC filters every 1 to 3 months, test weatherstripping each fall, clean drain traps spring and fall, and re-seal natural stone annually. In Los Angeles, add exterior caulk and paint inspections after Santa Ana wind season and before the first heavy rains. Most of this is homeowner-level work; some of it, done wrong or skipped, voids named-brand material warranties.
Styles & brands we work with







Table of Contents
- Monthly and Quarterly Maintenance: The Non-Negotiable Baseline
- Seasonal Maintenance for Los Angeles: What National Guides Get Wrong
- Caulk Joints: The Highest-ROI Maintenance You’ll Ever Do
- Grout and Tile: Sealing Schedules That Preserve the Warranty
- HVAC, Weatherstripping, and the Invisible Systems Behind the Walls
- Manufacturer-Specific Maintenance: What Voids a Warranty and What Doesn’t
- The Post-Remodel Walkthrough: What to Capture Before the Warranty Window Closes
- What to Do Yourself vs. What Requires a Licensed Trade
Monthly and Quarterly Maintenance: The Non-Negotiable Baseline
The maintenance calendar starts simple. Monthly tasks take under 20 minutes combined, and quarterly tasks take about an hour. The point is rhythm, not effort. A missed month becomes a missed year without noticing, and that’s when a five-dollar fix becomes a five-thousand-dollar repair. We tell every client who hires Elmstead Remodeling home the same thing: the house doesn’t send you a reminder. You build the habit and the house follows.
Here’s the monthly baseline, organized by system so nothing slips:
- HVAC filter inspection: Hold the filter up to a light. If you can’t see light through it, replace it. In Los Angeles, where fine dust and wildfire-season particulate load the filter faster, every 30 to 60 days is realistic for most families with pets or kids. A clogged filter forces the system to work harder and shortens its lifespan by years.
- Under-sink cabinet check: Open cabinet doors under every sink. Look for warped wood, water marks, or a musty smell. This catches slow supply-line leaks, which are the most common source of cabinet damage after a kitchen remodel. A ten-second look once a month beats a cabinet replacement later.
- Caulk joint visual scan: Walk the tub deck, shower surround, sink backsplash edges, and where counters meet wall surfaces. Look for shrinking, cracking, yellowing, or gaps. Caulk is a wear item. It is not permanent. Catching a failing joint early keeps water out of the substrate, which is where real damage lives.
- Drain flow check: Run water in every sink, tub, and shower. If any drain moves slowly, that’s the time to address it, not after the family gathers for the holidays. Slow drains are usually hair and soap buildup, cleared with a drain snake or safe enzyme cleaner, not chemical caustics that eat pipe fittings.
Quarterly, add these three:
- Inspect shower and tub grout with a flashlight: Look for hairline cracks, missing sections, or dark spots that don’t dry. Grout that stays dark after a shower has been treated as a warning sign, not a cosmetic detail.
- Run water in guest bathrooms and utility sinks that get little use: The trap water evaporates, and sewer gas seeps back into the house. Flush each fixture for 30 seconds and add water to floor drains.
- Tighten hardware: Cabinet hinges, drawer slides, door handles, and towel bars all loosen with daily use. A screwdriver and 20 minutes prevents stripped hinges and wobbly pulls.
This is the rhythm that keeps a remodel looking like it was just finished, year after year. None of it requires a contractor. All of it requires a calendar.
Seasonal Maintenance for Los Angeles: What National Guides Get Wrong
Most national maintenance guides are written for four-season climates. Los Angeles has two seasons that matter for home care: the dry, hot stretch from May through October, and the wetter, windier stretch from November through April. The Santa Ana wind cycle adds a third variable that national guides never mention. Here’s what the General Contractor in Los Angeles calendar actually looks like.
Spring (March to May): After the rainy season ends, inspect exterior caulk around windows, doors, and any exterior trim. The wet-dry-wet cycle of a Los Angeles winter stresses caulk joints through expansion and contraction. Re-caulk anything that shows separation. This is also the time to check roof flashing and gutters, because whatever water moved during winter storms has now had time to show evidence. Major exterior paint chips or peeling should be noted, not ignored; in LA’s dry heat, peeled paint opens the substrate to UV degradation within a single summer.
Summer (June to August): Before the hottest stretch, have the HVAC cooling system serviced. Coil cleaning and refrigerant level check are the two items that matter most for efficiency. In the San Fernando Valley or Inland locations, systems run hard for months. An annual service call in early June costs less than an emergency repair in August. This is also the season to check weatherstripping around doors, since the temperature differential between inside air conditioning and outside heat creates pressure that pulls air through gaps. In areas like Culver City and Mar Vista, where marine layer humidity cycles with afternoon heat, interior condensation on windows is worth watching; persistent moisture leads to mildew in drywall within weeks.
Fall (September to November): After the first Santa Ana wind event, walk the property looking for wind-driven debris accumulation against exterior walls, around AC condenser units, and under decking. Santa Anas also test every exterior caulk joint with rapid temperature swings. Look for cracks around window frames and trim. Clean gutters before the first real rain; a downpour after months of dry weather sends accumulated dust, leaves, and roof grit into the drains at once. Clogged gutters overflow against fascia boards and can feed water behind stucco.
Winter (December to February): After each significant rain, inspect interior walls and ceilings for moisture stains, particularly around window frames, chimney penetrations, and any roof transitions. The goal is not to fix every stain immediately; the goal is to note where water is entering before the next storm arrives. If a stain grows after a rain event, the leak is active and needs professional assessment. In areas with older homes – Pasadena, Highland Park, the Flats in Beverly Hills – brick and wood-frame construction from the 1920s through 1950s expands and contracts differently than newer builds, which means caulk and paint inspections matter more, not less.
This seasonal rhythm protects what a remodel built. It also means small fixes stay small.
Caulk Joints: The Highest-ROI Maintenance You’ll Ever Do
Caulk is the cheapest material in a remodel and the most consequential when it fails. A tube of quality silicone caulk costs eight to fifteen dollars. Replacing a mold-damaged stud, a water-damaged cabinet base, or a rotted subfloor costs hundreds to thousands. The math is not complicated. In our experience, the vast majority of water damage we see in Los Angeles bathrooms and kitchens starts at a failed caulk joint, not at a pipe leak.
The joints to inspect, in priority order:
- Tub-to-tile or tub-to-surround transition: This joint moves constantly as the tub flexes under weight and water temperature shifts. It cracks first and lets water behind the tile, onto the subfloor. This one is the highest priority in any bathroom.
- Shower control plate and escutcheon: The metal plate around the shower valve is often caulked at the top but not the bottom intentionally, so trapped water can drain. If it’s caulked all the way around and the caulk is failing, water runs inside the wall.
- Sink backsplash-to-counter joint: Water pools here after every dishwashing session. A separated joint allows soap and water into the gap, which feeds mildew and swells the counter substrate.
- Counter-to-wall joints: In kitchens, these joints see grease, heat, and water. Watch for shrinkage that leaves a gap.
- Interior window and door trim joints: In Los Angeles, these move with humidity swings and settle over time. A visible gap is an air leak in the making.
Replacing caulk is a homeowner-level task, but it matters which caulk you use. Use 100 percent silicone for wet areas like tub decks, showers, and sink backsplashes, not siliconeized latex, which breaks down in standing water within a year or two. Use paintable acrylic latex caulk where the joint will be painted. Remove all old caulk first, clean the surface with denatured alcohol, and let it dry completely before applying new bead. Caulk fails most often because it was applied over old caulk, applied to a wet surface, or used in the wrong place.
In Los Angeles, inspect caulk joints quarterly, not annually. The combination of dry heat, occasional heavy rain, and rapid temperature swings during Santa Ana cycles shortens the life of every flexible joint in the house. This single habit protects more of the remodel than any other maintenance task on this calendar.
Grout and Tile: Sealing Schedules That Preserve the Warranty
Grout is porous. It absorbs water, soap residue, and whatever else a shower throws at it. Sealing grout closes the pores and makes the surface repel water instead of absorbing it. Manufacturers behind named-brand tile systems, including Schluter waterproof membranes, specify that grout be sealed on an ongoing schedule. Skipping the schedule does not just allow water into the grout; in some cases, it can void the waterproofing system warranty if the failure traces back to unsealed grout.
Here’s what the schedule looks like in the real world:
- New grout: Wait 7 to 14 days after installation, depending on the product, before sealing. The installer should tell you the exact date. If they don’t, ask. Some grouts are pre-sealed; most cementitious grouts are not.
- Shower floors and wet walls: Re-seal every 6 to 12 months. Shower floors take the most water exposure and benefit from the tighter interval.
- Bathroom walls outside the shower and backsplashes: Re-seal every 1 to 2 years. These areas see less standing water but still need protection from humidity and splashes.
- Kitchen floor grout: Re-seal every 1 to 2 years, or when water stops beading on the surface. To test, drip a few drops of water on the grout line and watch. If it absorbs rather than beads, it’s time.
- Epoxy grout: Does not require sealing. If your remodel used epoxy grout, this entire schedule is simplified to cleaning only.
The brands a remodel uses cannot protect the homeowner if the homeowner never maintains the surface. This is a point we make during the walkthrough at the end of every project. Quality materials are a starting point, not a finish line. A sealed grout line repels water, resists mildew, and keeps the tile installation looking the way it did when the crew left.
The grout haze that appears on new tile within the first weeks is a different issue: it’s efflorescence or residue that cleaning removes, not a structural problem. But cracks, missing sections, or soft grout lines are structural. A cracked grout line in a shower floor is a path for water to the waterproofing layer. In Los Angeles, where hard water is common and mineral buildup accelerates surface wear, cleaning grout with a pH-neutral cleaner and re-sealing on schedule matters more than in soft-water regions.
HVAC, Weatherstripping, and the Invisible Systems Behind the Walls
The visible parts of a remodel get the attention. The invisible parts do the work. HVAC filters, weatherstripping on windows and doors, drain cleanouts, and the slope of exterior grade around the foundation are all maintenance items that a general contractor’s schedule should name specifically. Most homeowners learn about them the hard way, usually through a higher utility bill or a water stain that appears months after the cause. For General Contractor Warning Signs Every Homeowner Should Know, see our related guide.
HVAC filters: Replace every 1 to 3 months, depending on household load. Families with pets, children, open-window seasons, or nearby construction replace monthly. The filter’s job is not to clean the air for your family; it’s to protect the equipment from dust and debris. A clean filter means proper airflow, which means the system doesn’t overheat, which means the compressor lives years longer. This is a five-dollar monthly habit that protects a several-thousand-dollar system.
Weatherstripping: The rubber, foam, or vinyl strips along window sashes and exterior doors degrade from UV exposure, temperature swings, and daily use. Check them each fall, before heating or cooling season. A visible crack, a flattened section that doesn’t spring back, or daylight visible around a closed door means replacement. In Los Angeles, the temperature swings from day to night accelerate weatherstripping wear compared to more stable climates. Replacing weatherstripping is a simple homeowner task and pays for itself in energy savings within a season.
Drain cleanouts: Every sink trap, shower drain, and floor drain should be cleaned twice a year, ideally spring and fall. Hair and soap buildup in bathroom drains is the most common cause of slow drainage after a remodel. Use a plastic drain snake, not chemical drain cleaners, which can damage pipe fittings and the rubber gaskets in newer plumbing. Enzyme-based drain treatments are pet-safe and effective for routine maintenance.
Exterior grade and drainage: Walk the exterior after heavy rain and look for standing water within six feet of the foundation. Water that pools against a foundation finds its way in through any crack, seam, or penetration. In Los Angeles, where heavy rain arrives after months of drought, the soil shrinks during dry periods and then expands during rain, which can create new drainage paths. Correcting drainage can be as simple as adding soil to slope the grade away from the house, or it may require a contractor to assess. Either way, the walk-after-rain check catches it before the foundation does.
Manufacturer-Specific Maintenance: What Voids a Warranty and What Doesn’t
Manufacturer warranties on remodel materials are conditional documents. They protect the homeowner only if the homeowner holds up their end. The most common way homeowners void a warranty without knowing it is by skipping a maintenance requirement written into the product documentation. Here’s how that works with the named-brand materials a remodel commonly includes.
Schluter tile systems: Schluter waterproofing membranes and shower systems come with published installation and maintenance requirements. The membrane itself does not require homeowner maintenance, but the tile and grout above it do. If unsealed grout allows water to penetrate continuously and the system fails, the warranty claim depends on showing the grout was properly maintained. That means keeping the sealing schedule and documenting it. A calendar entry or receipt for grout sealer is evidence.
Kohler fixtures: Kohler’s finish warranty covers the surface finish, not damage from improper cleaning. The product documents name what not to use: abrasive cleaners, steel wool, and harsh chemical solvents. Routine cleaning with a mild detergent and soft cloth is the maintenance requirement. Skip it, and hard water mineral deposits build up, then get scrubbed off with an abrasive, and the finish fails. That failure is not a warranty item; it’s a maintenance item.
Marvin windows: Marvin’s warranty covers defects in materials and workmanship, including seal failure, for the stated period. It does not cover damage from condensation that sits on the sill. That means the homeowner’s job is to wipe condensation during humid periods, keep weep holes clear, and re-caulk the exterior joint when it separates. A failed exterior caulk joint allows water behind the window flange, which shows up as interior water damage. The damage is visible on the inside, but the cause was outside, and the fix was a tube of caulk months earlier.
Cambria and Silestone countertops: Quartz surfaces are low-maintenance, not no-maintenance. The manufacturer’s care instructions name what to avoid: prolonged heat exposure, certain chemical solvents, and sitting water around sink edges. Quartz does not need sealing, which is one of its advantages, but the sink caulk joint does. A countertop that fails around the sink because the caulk wasn’t maintained is not a Cambria or Silestone warranty item; it’s a caulk failure.
The pattern: material warranties protect against manufacturing defects, not against deferred maintenance. The homeowner’s maintenance schedule is the bridge between the manufacturer’s warranty and the real-world water, dust, and heat the material faces every day.
The Post-Remodel Walkthrough: What to Capture Before the Warranty Window Closes
Every project should end with a walkthrough where the contractor walks the homeowner through the finished work and the maintenance it now requires. This is the moment when the maintenance schedule is handed over in writing, with specific product names, specific intervals, and specific products to use. If your contractor doesn’t offer this walkthrough, ask for it. The 365-Day Done Right Promise that governs every Bathroom Remodeling in Los Angeles project assumes this handoff happened, because that’s what allows maintenance issues to be caught before they become warranty questions.
Here’s what the walkthrough checklist should capture, in order:
- All product names and model numbers: Cabinets, countertops, fixtures, flooring, waterproofing system, paint colors, grout color, caulk type. If a warranty claim is ever filed, the manufacturer’s first question is the product name. Write it down while the contractor is in the room and can verify it.
- The specific caulk and sealant products used: Not just “silicone caulk,” but the brand and type. When you need to touch up a joint, you want the same product that’s already there, and miscibility between caulk types matters.
- The grout sealing product and the date it was last sealed: This starts the clock on the re-seal schedule. If the installer sealed the grout before handing over, note the date. If not, note the date it must be done and who will do it.
- Filter sizes for every HVAC return in the house: The filter size is stamped on the old filter, but once it’s replaced, the next one is guesswork without the number. Write it down at the walkthrough.
- Any deferred items and their agreed resolution date: If there’s a touch-up paint spot, a hinge adjustment, or a grout haze removal pending, the walkthrough is when the date is set. Get it in writing. The written price before any work starts is a Cedarwell Care Promise practice; the written completion list before the crew leaves serves the same purpose on the back end.
- The warranty documents and registration requirements: Some manufacturers require online product registration within 30 or 90 days of installation. The contractor should identify which products require registration and who handles it. If the homeowner must register, it goes on the calendar the day of the walkthrough.
In Los Angeles, where a project might involve multiple subs and material suppliers, the walkthrough is also the moment to confirm the permit was finalized and the inspection passed. This matters for resale and for future remodeling work, and it should be confirmed in writing before the project is considered fully closed.
What to Do Yourself vs. What Requires a Licensed Trade
Most of the maintenance on this calendar is homeowner-level: filter swaps, caulk touch-ups, weatherstripping replacement, drain cleaning, exterior inspection. These tasks require attention and a trip to the hardware store, not a license. Doing them on schedule is what keeps a remodel in the shape it was left in.
Some tasks require a licensed contractor, and the distinction matters for safety and for warranty protection:
- Electrical panel work, circuit additions, or wiring modifications: Anything beyond replacing a light fixture or a switch cover belongs to a licensed electrician. Opening a panel without training is a serious safety risk. This is not a maintenance task; it’s a trade.
- Gas line work: Moving a gas appliance, extending a line, or repairing a gas fitting requires a licensed plumber with gas certification. Gas leaks do not give second chances.
- Structural modifications: Removing a wall, cutting a new opening, or altering load-bearing framing requires engineering review and permits. A homeowner who decides a wall “looks non-structural” is betting the house on a guess.
- Waterproofing system repairs: If a Schluter membrane or similar waterproofing system is damaged during repairs, the repair must be done by a qualified installer using the manufacturer’s specified products and methods. A patch with the wrong material voids the system warranty and risks water damage that is not visible until it’s extensive.
- Any work that requires a permit: In Los Angeles, the permitting process is specific and enforced. Work done without a permit can stall a future sale and can void homeowner’s insurance coverage if the unpermitted work fails.
The homeowner’s judgment call is usually the same every time: if the task involves water, electricity, gas, or structure, call the professional. If it involves a screwdriver, a tube of caulk, or a filter, do it on schedule. Knowing the difference protects the home and the people in it.
Common Mistakes to Avoid
- Skipping the first six months of caulk checks because the remodel “is new.” New caulk fails in the first year just as often as old caulk does, because the initial drying and curing period is when shrinkage shows up. Check every quarter from the first month.
- Using chemical drain cleaners on renovated plumbing. Caustic cleaners generate heat that warps PVC fittings and degrades rubber gaskets. A plastic snake or enzyme cleaner costs less than the repair.
- Sealing grout once and assuming it’s permanent. Grout sealer wears off. The test is simple: drip water and watch. If it absorbs, re-seal. One-and-done sealing is how shower floors end up mildewed within two years.
- Deleting the maintenance calendar from your phone after the first season. The most common failure is not a skipped task; it’s a skipped system. Build the calendar into whatever app or paper planner you already use, so it runs itself.
- Deferring exterior caulk and paint inspection until after the rainy season. The time to inspect exterior caulk is before the rain, not after the water has already found the gap. In Los Angeles, that means late summer and early fall, before the first storm.
- Assuming the contractor will handle all warranty registration. Some product warranties require homeowner registration, and the deadline is often 30 to 90 days. If you don’t register, the warranty may not exist. Confirm who registers what at the walkthrough.
- Treating a small water stain on the ceiling as a “wait and see” item. A ceiling stain after rain means water is actively entering. The leak will not stop on its own, and the repair cost only grows while you wait.
See the difference
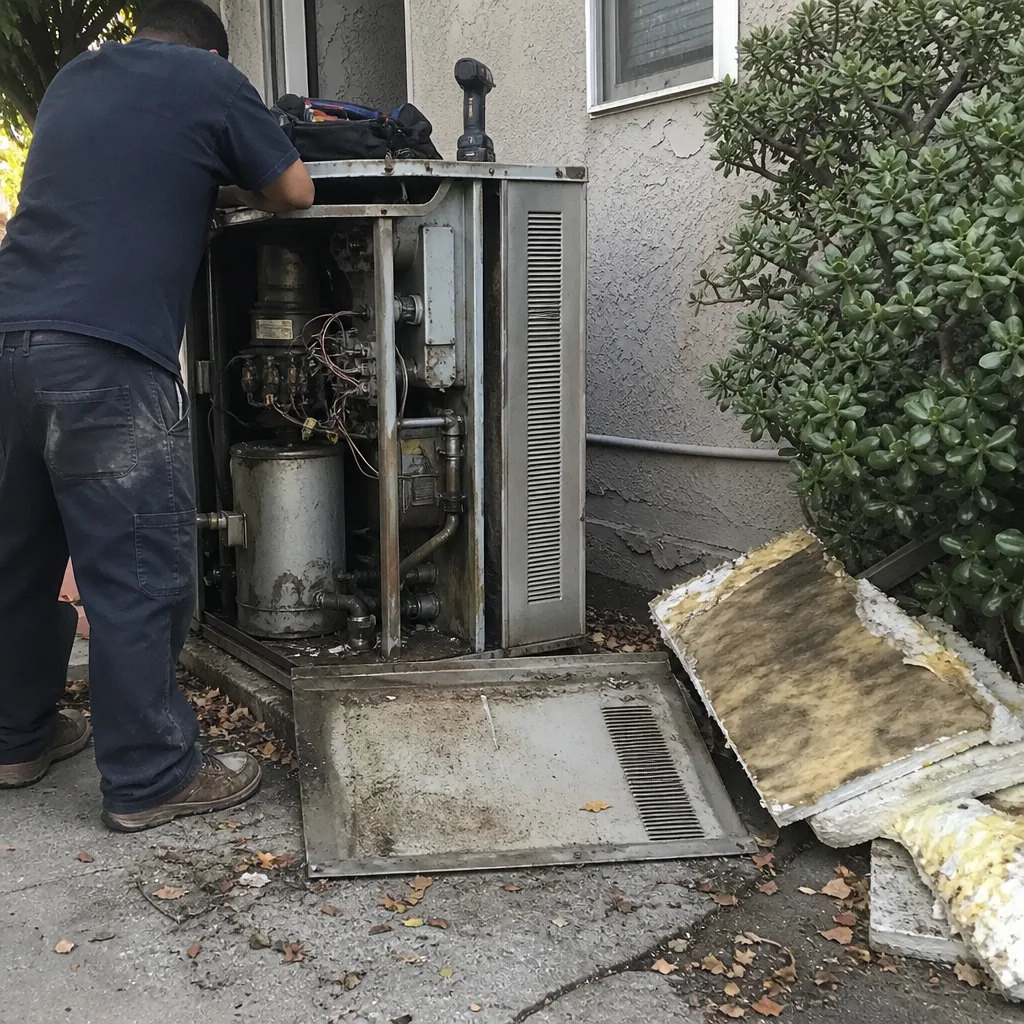 Before
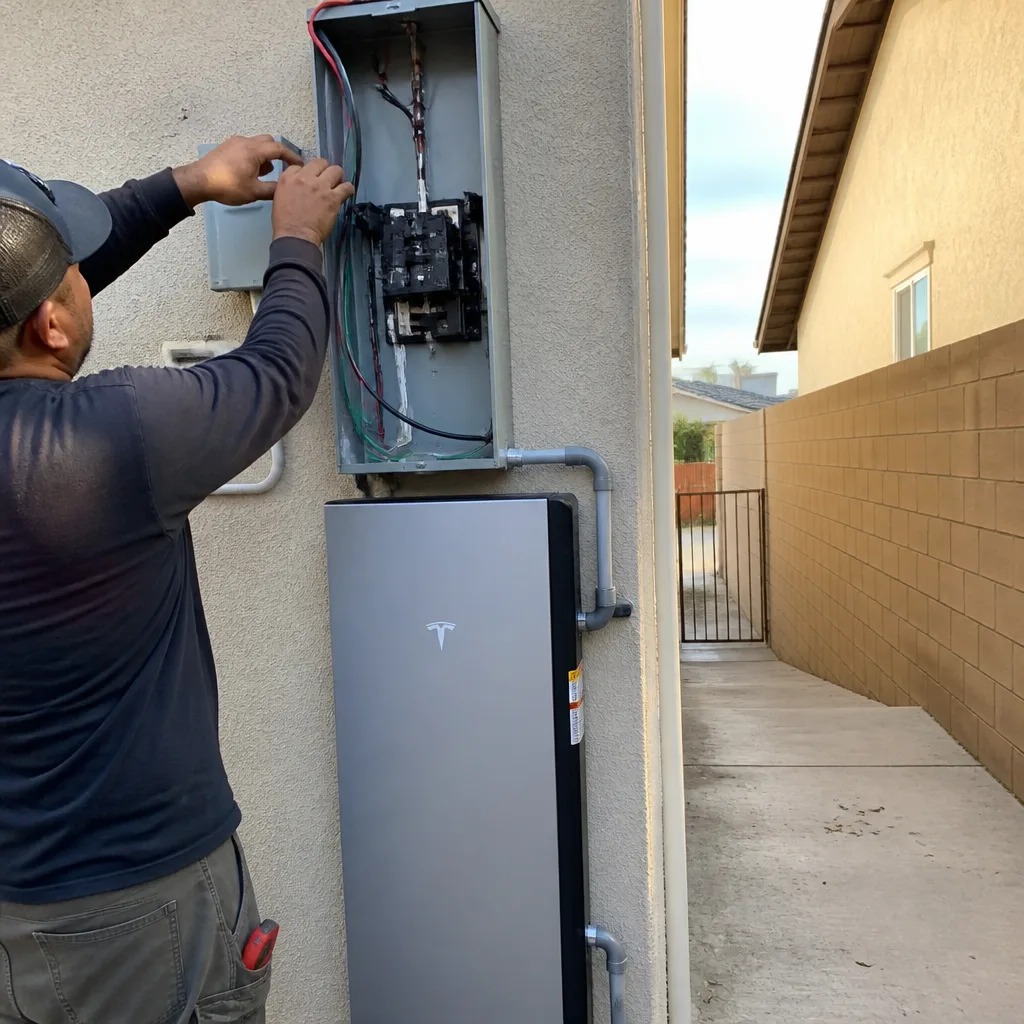 After
After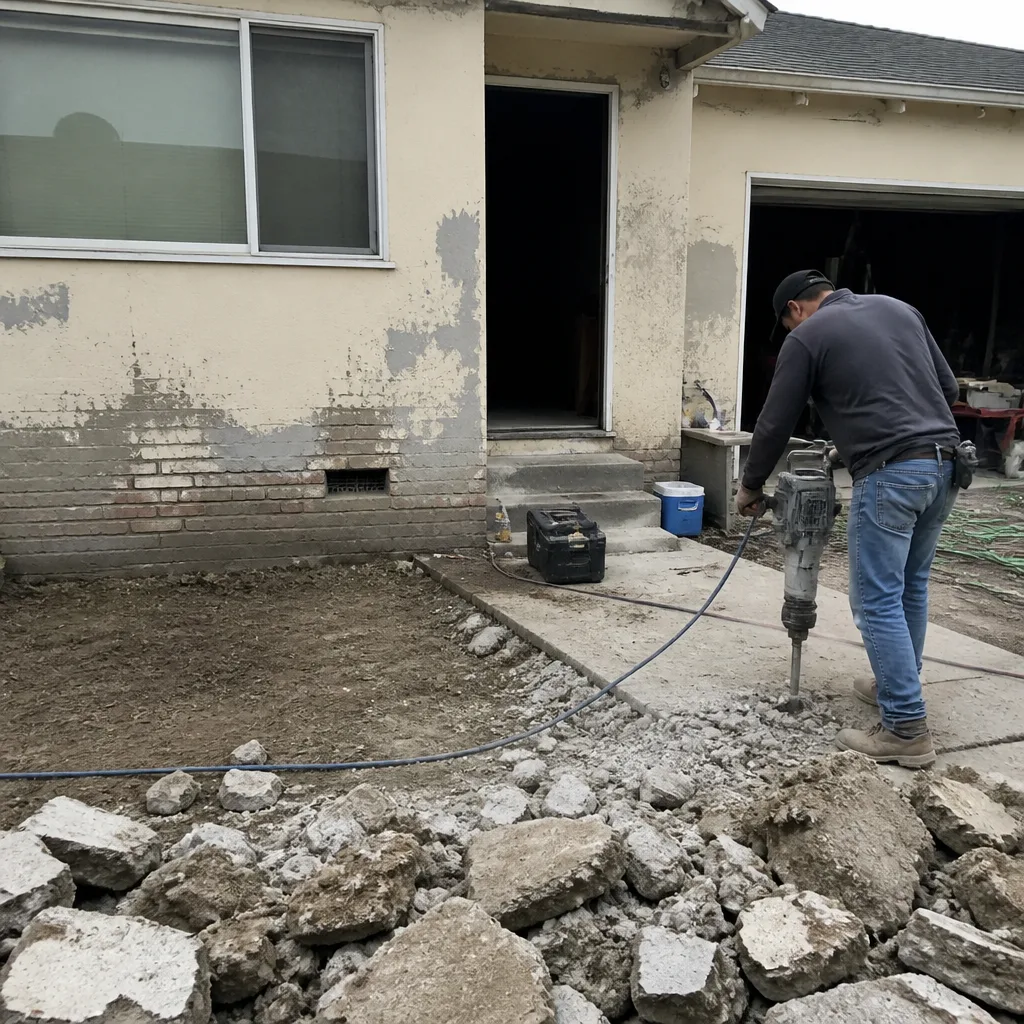 Before
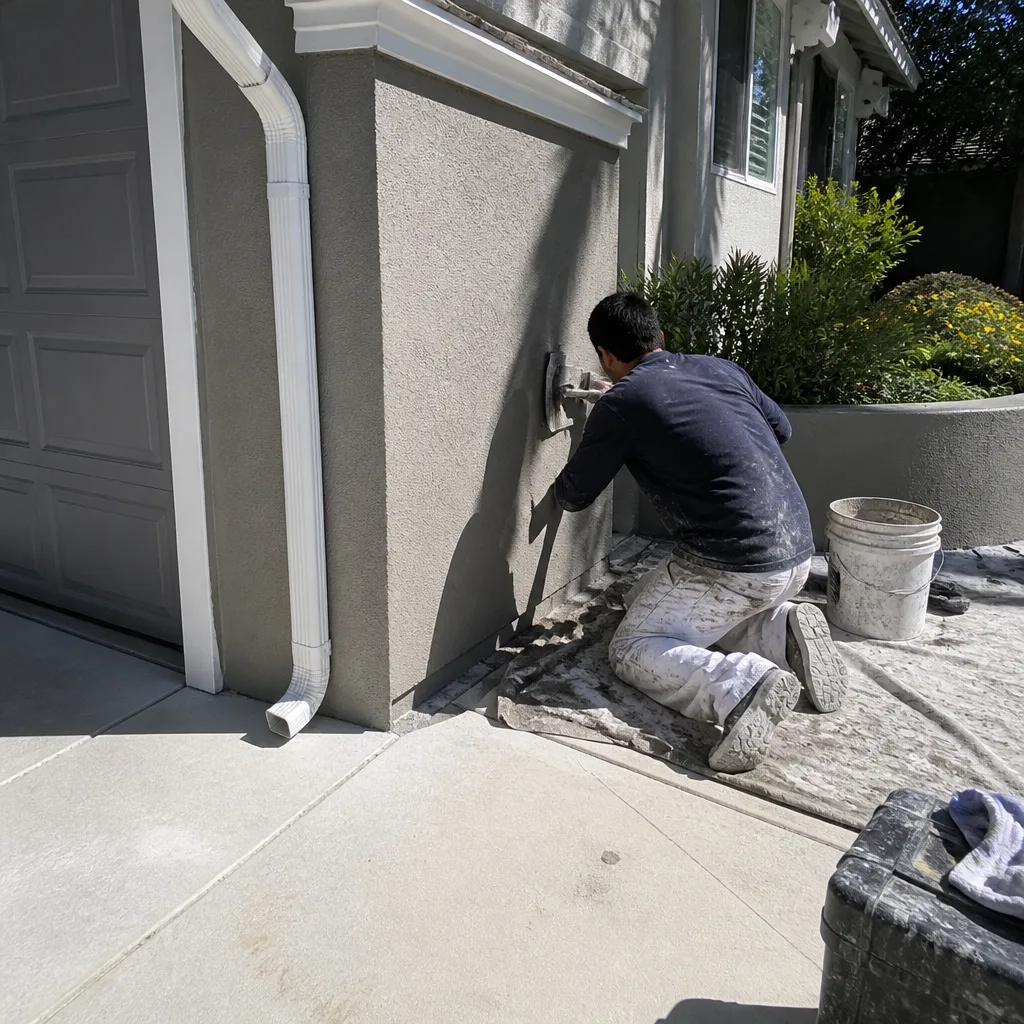 After
After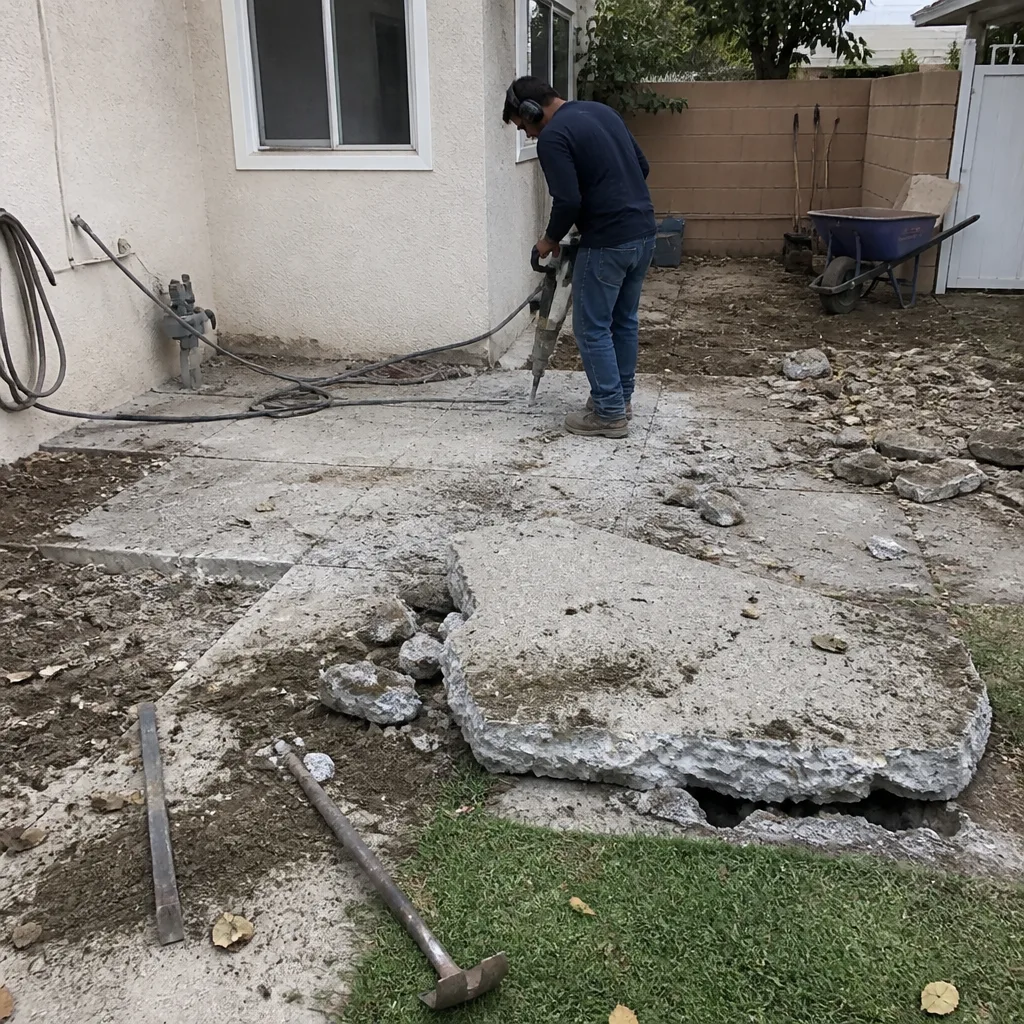 Before
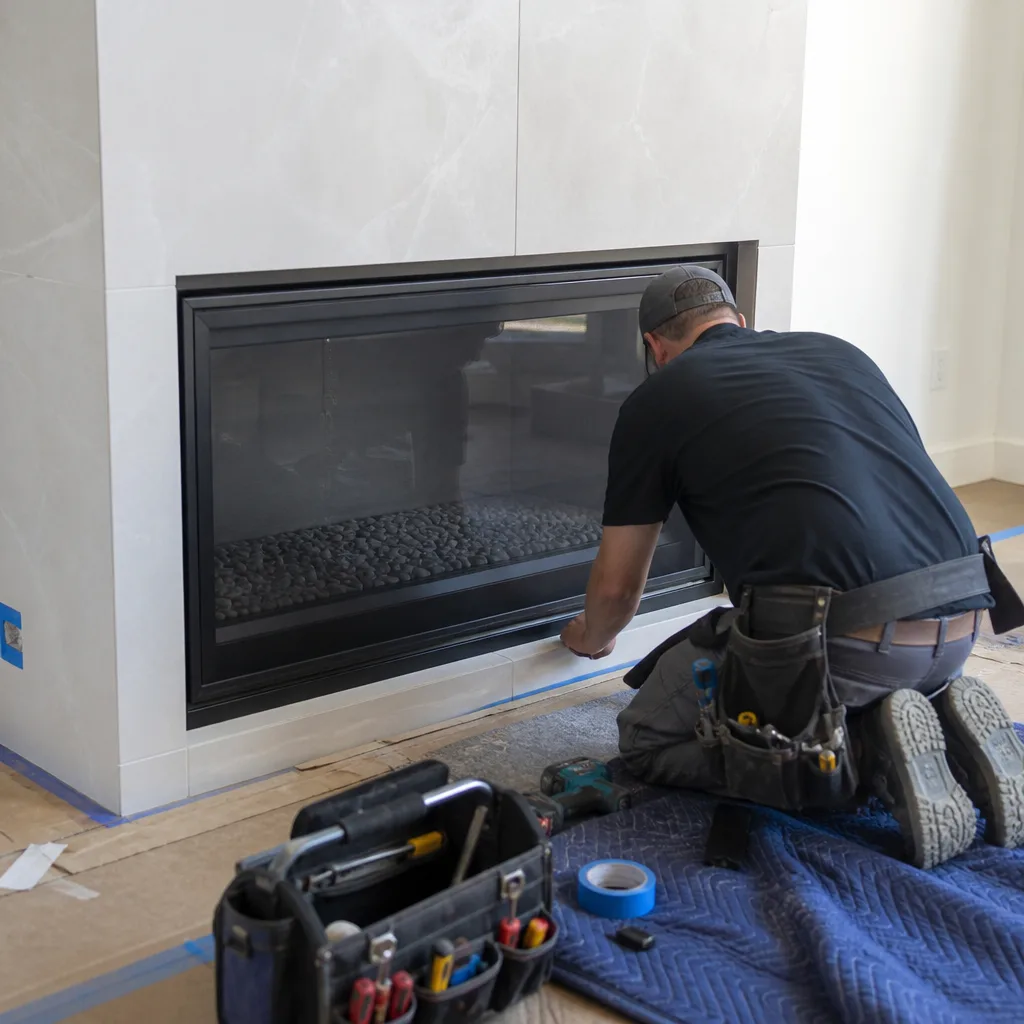 After
AfterWhen to Call a Professional
Call a professional when a water stain appears after rain or grows between rains, when a crack appears in tile or grout in a wet area, when exterior caulk has separated from the surface around windows or doors, when a drain backs up despite routine cleaning, or when the HVAC system makes new sounds or loses cooling capacity. These are not maintenance items; they are symptoms of something upstream that maintenance alone cannot fix. Elmstead Remodeling offers free estimates in Los Angeles, including maintenance-related repair assessments, call (949) 850-9896 to schedule. The estimate includes a written price before any work starts, the same practice that governs every Kitchen Remodeling in Los Angeles project.
Frequently Asked Questions

A maintenance inspection from a general contractor in Los Angeles typically runs $150 to $400 for a walkthrough of a single system or a targeted area, while a whole-home post-remodel assessment is often included as part of the project close. For General Contractor Troubleshooting: Common Problems and How to Fix Them, see our detailed resource. Some contractors, including Elmstead Remodeling, offer free estimates for repair work identified during an inspection. The written price before any work starts is the standard to hold.
Re-seal shower grout every 6 to 12 months in Los Angeles, and test quarterly by dripping water on the grout line to see if it beads or absorbs. The dry heat and hard water common across LA shorten the effective life of sealer compared to coastal or soft-water regions.
Yes, in many cases. Manufacturer warranties on waterproofing systems like Schluter and on tile installations assume the grout is sealed on schedule, and a warranty claim can be denied if the failure traces to unsealed grout. The sealing schedule is part of the warranty conditions, not a suggestion.
Caulk joint failure at the tub deck, shower surround, or sink backsplash is the most common post-remodel failure we see in Los Angeles, usually because the joint was never inspected after installation. The fix is a $15 tube of silicone; the repair for water damage behind the joint runs hundreds to thousands.
Caulk replacement is a homeowner-level task if you remove all old caulk, clean the surface with denatured alcohol, let it dry completely, and use 100 percent silicone in wet areas. The reason most DIY caulk jobs fail is not skill; it’s skipping the prep work. If the joint has mold or water damage behind it, call a professional before re-caulking.
A one-year workmanship warranty is standard in Los Angeles, and any material defects should be documented and reported before that year closes. For more guides & resources on protecting your remodel, visit our blog. Elmstead Remodeling’s 365-Day Done Right Promise matches this standard: if it’s not done right after completion, we make it right. The post-remodel walkthrough is the moment to document any open items in writing so they’re addressed inside the warranty window.
The Bottom Line
A remodel is a system, not a finished photograph. The tile, caulk, grout, filters, weatherstripping, and drainage paths work together, and they need a schedule that matches how Los Angeles actually behaves: dry heat, sudden rain, Santa Ana wind cycles, hard water, fine dust. Caulk checked quarterly, grout re-sealed on a calendar, filters replaced before they clog, drainage watched after every rain. None of it is difficult. All of it is easy to skip. The maintenance schedule handed over at project close is the difference between a remodel that lasts three decades and one that needs a repair crew in four years. If a system on your schedule is already overdue, call (949) 850-9896 for a free estimate, and the written price comes before any work begins.
Written by Graham Stein, Owner at Elmstead Remodeling, serving Los Angeles since 2005.